This post has already been read 1295 times!
The fan above the kitchen can get very dirty but access to clean it is not possible without a bit of dismantling. This tip is about a simplified way to remove just enough of the fan to get at the parts most likely to need cleaning. The pictures below were all taken after I had cleaned the fan!
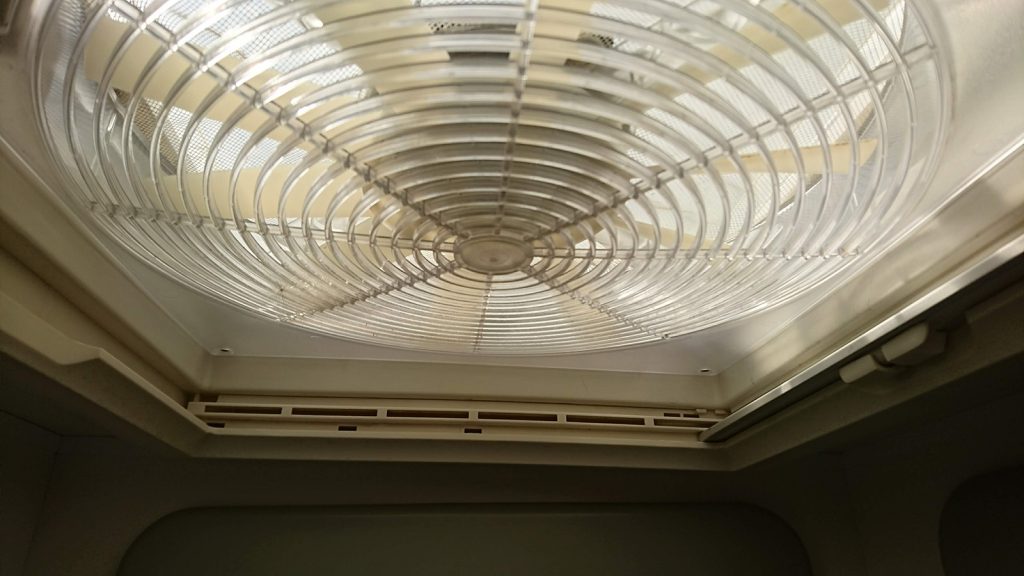
Starting underneath, the square, clear plastic grill below the fan is held in place by four screws, one at each corner.

Be careful with the screws as you undo them, try not to drop any into the awkward corners of the fan housing! A magnetic screwdriver helps here.
You will now be able to get at the fan. It is held in place by a single nut in the centre. An 8mm spanner will remove this but take a very careful note of any spacers above the fan. There are two on ours but other models may differ. Note not just how many there are and where they are, but their order and which way up they go. Taking a photo or two with a mobile phone may help. Alternatively, you could clean the fan without removing it using a bit of spray bleach on a cloth.
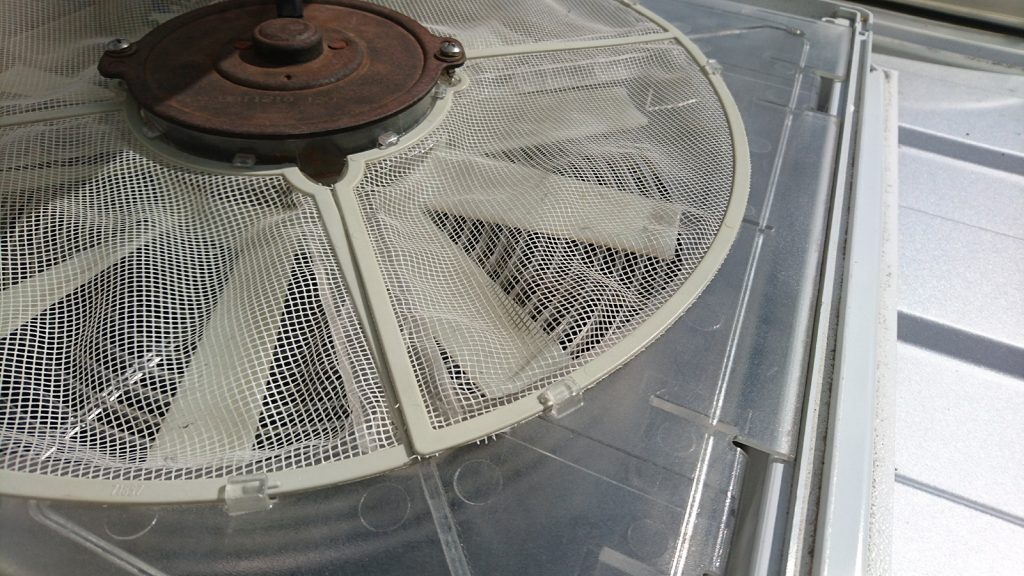
Above the fan is a plastic mesh. To get at this you need a pair of tall step ladders, very long legs or a ladder. If you use a ladder put a towel or something under the top of the ladder to protect the vehicle paintwork and of course be careful and have someone stand on the bottom of the ladder if it feels a bit insecure.
When you get high enough to look down on the fan you should see something like this. Having opened the rooflight of course!

The mesh is in two parts and is held in place by molded plastic “hooks” around the edges. It is a simple matter to pull the mesh out from under these to remove them.
You can now clean all the dirty bits with warm water and detergent in the sink or bath.
The top cover of the fan/rooflight can be cleaned in situ. It is possible to remove it by undoing all the Torx screws with a T20 Torx wrench (like an Allen key) but it isn’t really worth it as it is awkward to replace. It is also possible to remove the four legged “spider” which holds the fan motor. In the image above you can see along the right hand edge two tabs or “tangs” which hook into the outside of the fan housing. With a thin screwdriver it is possible to free these and two corresponding ones on the opposite side. The entire assembly can then be removed for cleaning but I suggest try to clean it in place if possible. A bit of spray bleach on a cloth should remove any grease. Be careful using water as the electronics are not waterproof! I would not advise removing the fan motor from the spider. When I tried it the plastic around one of the screws disintegrated. I think it had become brittle with age and exposure to UV.